I’ll never forget my first experience with an electric file.
I’d watched a dozen YouTube tutorials, bought a starter kit, and confidently attempted to remove my own gel polish. Thirty seconds later, I’d filed a groove into my natural nail that took months to grow out. My technician friend took one look at my hand and said: “You used the wrong bit, didn’t you?”
She was right. I’d grabbed the coarsest bit in the kit, applied too much pressure, and paid the price.
Nail drill bits aren’t one-size-fits-all. Each shape, material, and grit serves a specific purpose. Understanding the differences transforms your e-file from a dangerous tool into an invaluable assistant.
Here’s everything I’ve learned about choosing and using the right bits.
Why Bit Material Matters?
The material determines how a bit cuts, how long it lasts, and what it’s best suited for.
Carbide Bits
Carbide bits are made from tungsten carbide—one of the hardest materials available. They feature sharp cutting flutes (grooves) that shave off product rather than sanding it.
Best for: Acrylic removal, hard gel reduction, and heavy product work. Carbide bits cut quickly and don’t wear down easily.
Pros: Extremely durable, fast cutting, long lifespan
Cons: Can feel aggressive, not suitable for natural nails or beginners
Feel: Like tiny rotating blades—they cut rather than grind
Diamond Bits
Diamond bits have actual diamond dust electroplated onto a steel mandrel. The diamond particles do the grinding. They come in various coarseness levels and are gentler than carbide.
Best for: Cuticle work, natural nail preparation, refining shapes, and gel polish removal
Pros: Versatile, available in many shapes and grits, gentler on natural nails
Cons: Diamond coating wears off over time, quality varies widely
Feel: Like sandpaper—they grind rather than cut
Ceramic Bits
Ceramic bits are newer to the market but gaining popularity. They’re made from industrial ceramic material that’s hard but not brittle.
Best for: General purpose use, gel removal, and clients with sensitive nails
Pros: Stay cool during use (less heat buildup), durable, gentle on nails
Cons: More expensive, fewer shape options available
Feel: Smooth cutting with minimal vibration
Silicon Carbide Bits (Disposable)
These are the orange or blue bits often found in beginner kits. They’re made of abrasive material bonded to a plastic mandrel and are meant to be disposable.
Best for: Beginners learning e-file techniques, one-time use on clients
Pros: Cheap, widely available, less scary for new users
Cons: Wear out quickly, can’t be properly sterilized, less precise
Feel: Like sandpaper tubes—effective but temporary
A nail educator once told me: “Buy cheap bits, buy them forever. Invest in quality, and they’ll last years.” That advice has saved me hundreds of dollars.
Understanding Grit: What Those Numbers Mean
Grit refers to the coarseness of abrasive bits (diamond and silicon carbide). Lower numbers are coarser; higher numbers are finer.
Coarse Grit (80-100)
What it does: Removes material quickly. Aggressive cutting.
Uses:
- Shortening acrylic or hard gel extensions
- Removing bulk product quickly
- Heavy callus work on feet (with proper bits)
Warning: Never use coarse bits on natural nails. Even brief contact can damage the nail plate.
Medium Grit (150-180)
What it does: General shaping and refining. Balances speed and control.
Uses:
- Refining acrylic shapes after coarse work
- Removing gel polish (with care)
- Smoothing edges
Fine Grit (240-400)
What it does: Smoothing and finishing. Gentle on natural nails.
Uses:
- Natural nail preparation
- Light buffing
- Cuticle work
- Final smoothing before polish
Extra Fine Grit (600-1000)
What it does: Polishing and shining. Removes the tiniest scratches.
Uses:
- Creating high shine on natural nails
- Polishing enhancement surfaces
- Final finishing work
Pro tip: For cuticle work on natural nails, always use fine or extra fine grit. Anything coarser risks damaging the nail plate.
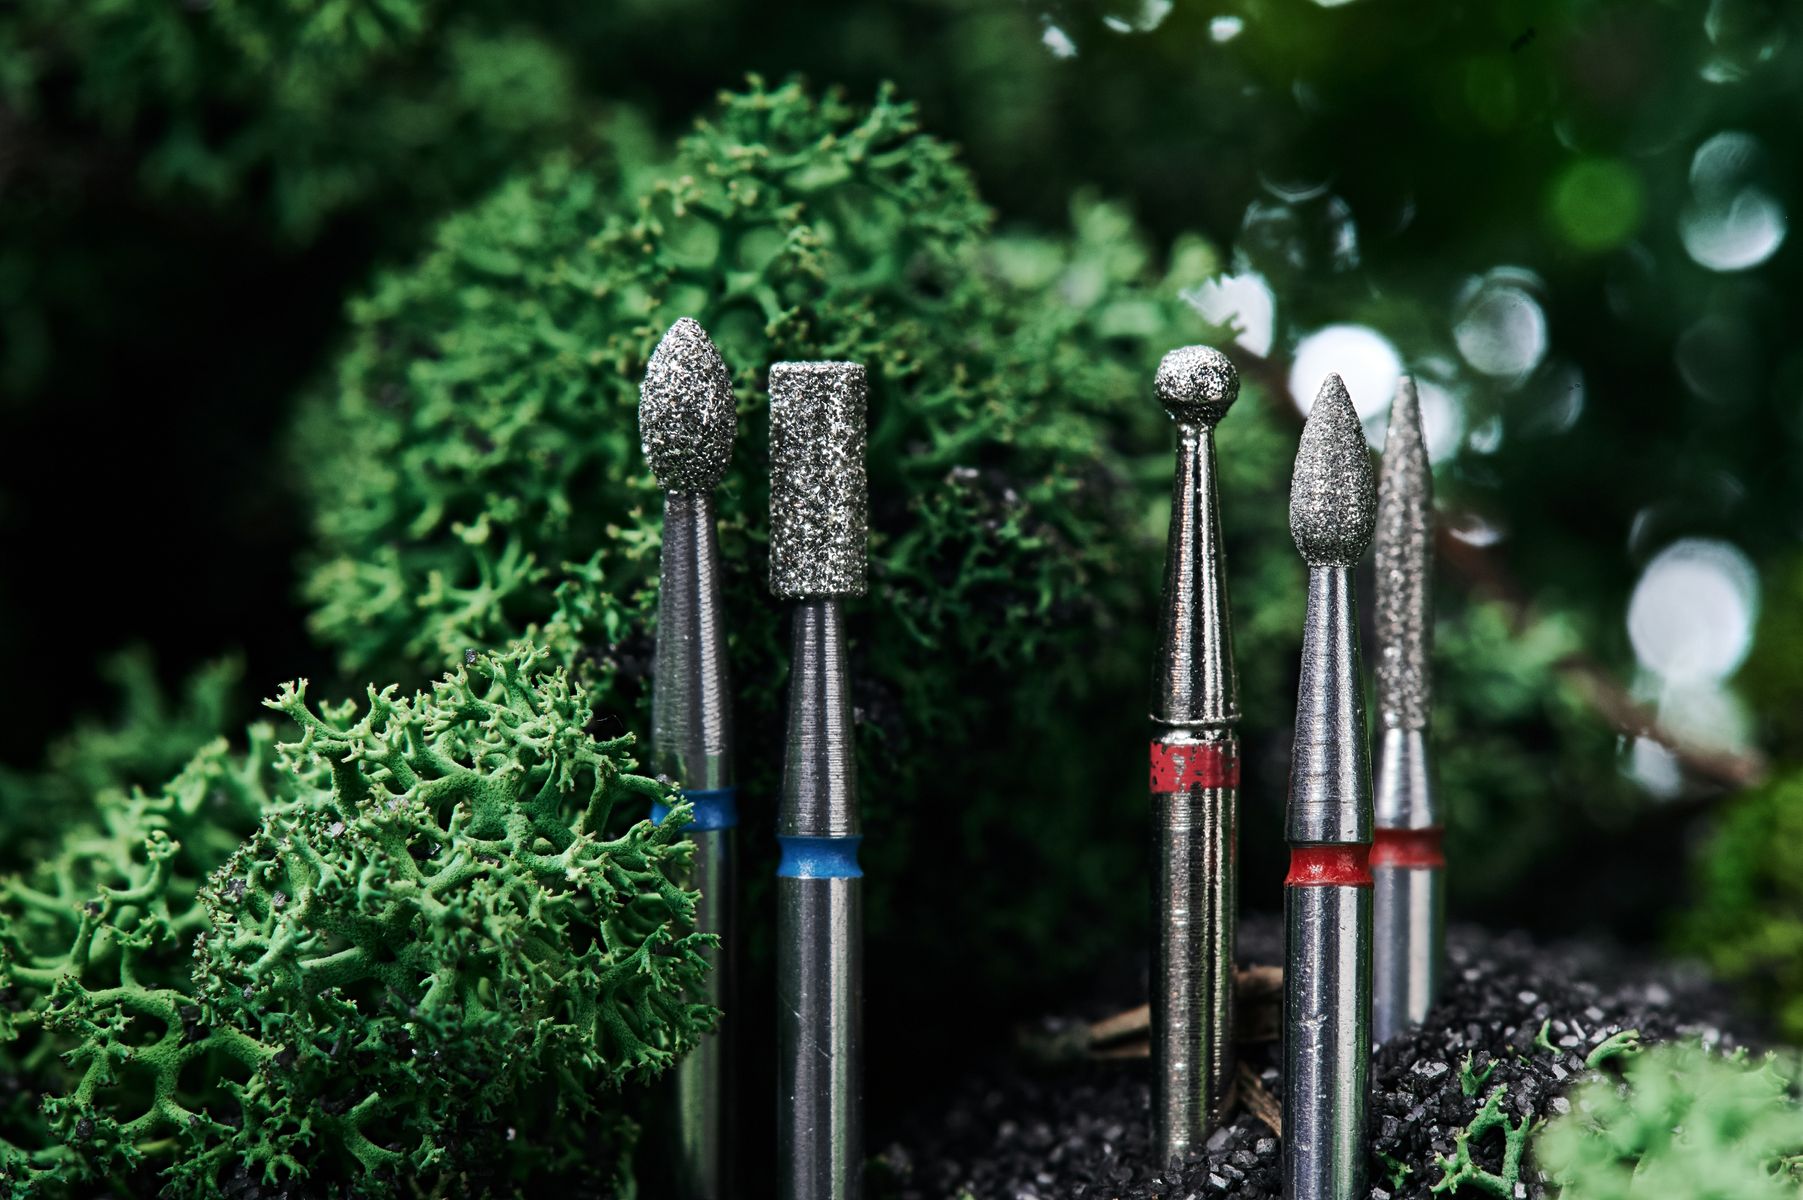
Bit Shapes and Their Specific Uses
Beyond material and grit, shape determines what a bit can do.
Flame or Tapered Cone Bits
Shaped like a teardrop or flame. Narrow tip widens toward the base.
Uses: Cuticle work, sidewall cleaning, accessing tight spaces around the nail. The pointed tip reaches where other bits can’t.
Barrel or Cylinder Bits
Straight-sided cylinders. Available in various widths.
Uses: Removing bulk product, shortening length, creating even surfaces. Great for acrylic removal.
Ball Bits
Round balls on a shaft. Think tiny lollipop shape.
Uses: Cuticle work, removing debris from under the free edge, gentle cleaning around the nail base.
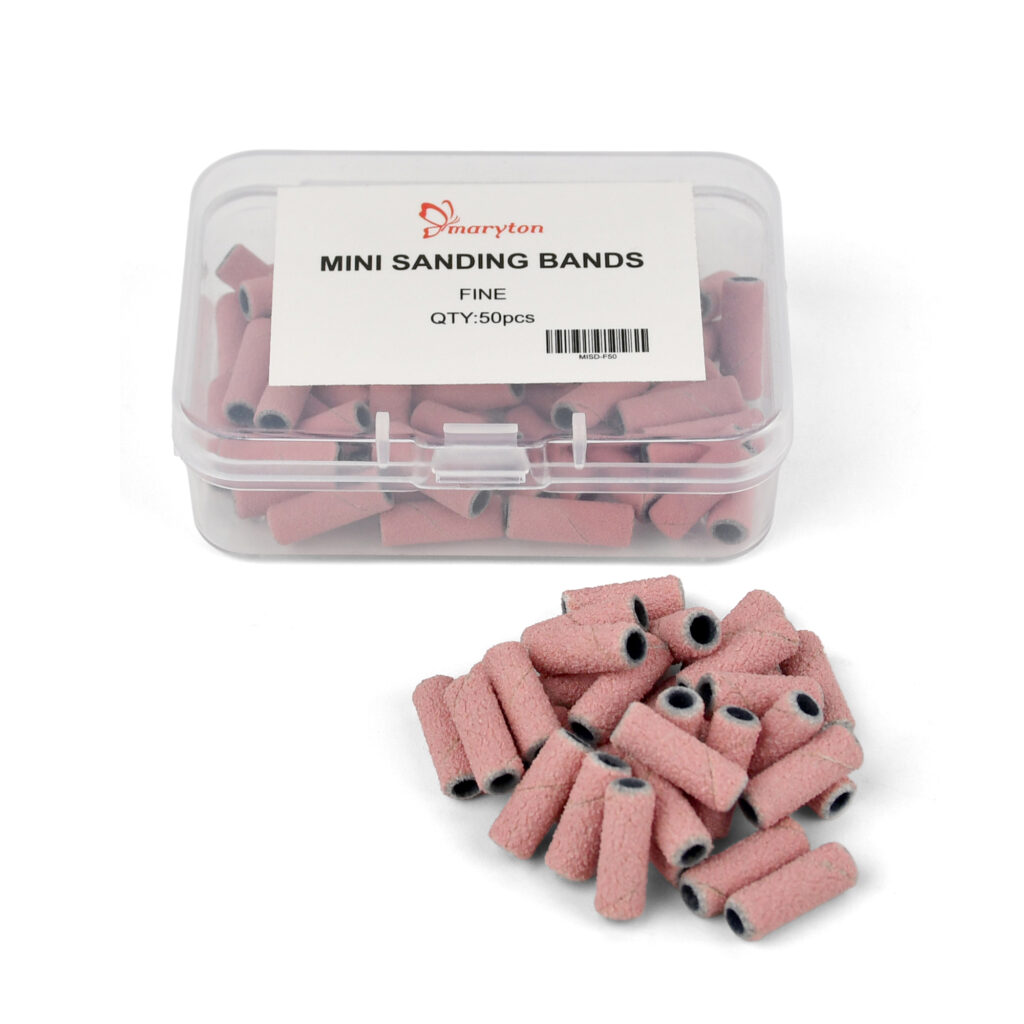
Mandrel Bits
These hold disposable sanding bands. The mandrel itself is reusable; you change the bands.
Uses: Versatile—change bands for different grits. Good for surface work and product removal.
Cone Bits
Long, tapered cones. Narrow at tip, wider at base.
Uses: Cuticle work, deep sidewall cleaning, accessing the entire nail perimeter.
Safety Bits
Designed with safety in mind—often have rounded tips and specific angles.
Uses: Cuticle work for beginners, natural nail prep, gentle cleaning. Harder to damage skin with these.
How to Choose Your First Bit Collection?
If you’re building a starter kit, here’s what professionals recommend:
For beginners:
- One fine diamond flame bit (cuticle work)
- One medium diamond barrel bit (product removal)
- One fine safety bit (learning control)
- Several disposable silicon carbide bits (practice)
For intermediate users:
- Add a carbide bit for acrylic work
- Invest in quality diamond bits in various shapes
- Try a ceramic bit for gel removal
For professionals:
- Full set of quality diamond bits (all shapes)
- Carbide bits for heavy acrylic work
- Ceramic bits for sensitive clients
- Mandrel with Mini sanding bands
A veteran nail tech shared: “You’ll eventually develop favorites. I have bits I’ve used for five years and bits I never touch. Buy a few quality pieces first, then expand based on what you actually do.”
Safety Rules for Using Drill Bits
Rule 1: Match speed to material. Lower speeds for natural nails and cuticles. Higher speeds for product removal. Every bit has a recommended RPM range.
Rule 2: Keep bits clean. Disinfect after each client. Use bit cleaners or ultrasonic machines. Dirty bits spread infection and cut poorly.
Rule 3: Replace worn bits. Diamond coating wears out. Carbide dulls. When bits stop cutting efficiently, replace them.
Rule 4: Never force. If a bit isn’t cutting smoothly, stop. Forcing causes heat, damage, and pain.
Rule 5: Watch pressure. Let the bit do the work. Heavy pressure creates heat and removes too much too fast.
Rule 6: Sterilize properly. Autoclave metal bits that contact skin. Disposable bits are single-use only.
Common Beginner Mistakes
Using the wrong grit. Coarse bits on natural nails = damage. Match grit to material.
Applying too much pressure. Light touch only. The bit should glide.
Neglecting speed control. Every material needs different speeds. Learn your e-file’s settings.
Skipping safety bits for cuticles. Beginners should use safety bits until control develops.
Not cleaning bits between uses. Product buildup reduces effectiveness and spreads bacteria.
Buying cheap sets. Twenty bits for $10 means twenty bits you’ll replace next month. Invest in fewer quality pieces.
The Bottom Line
Nail drill bits are precision tools, not accessories. The right bit makes e-file work efficient, comfortable, and safe. The wrong bit damages nails and frustrates everyone.
Start with quality basics. Learn what each shape and grit does. Practice on tips before touching live hands. And never forget: the bit is a tool, not a weapon. Treat it with respect, and it will serve you well for years.
Read also: Brittle Nails: Why They Happen and How to Fix Them