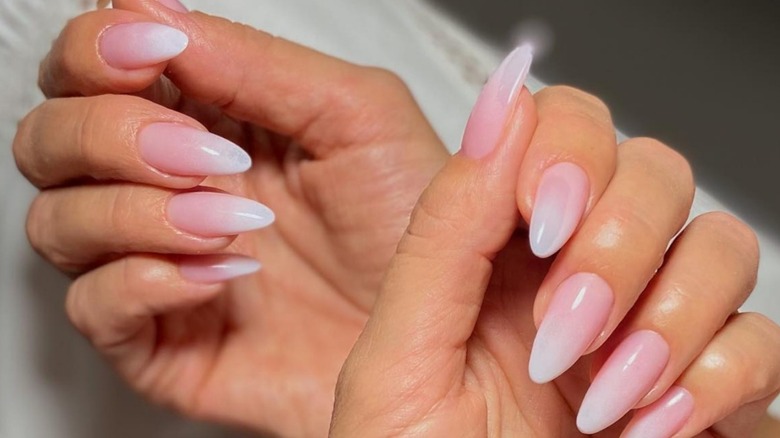
The baby boomer nail art is very popular on social media. This nail art technique involves applying a white gradient, more or less blended, over a nude base. Today, this article will tell us all about this phenomenon.
What is the baby boomer technique?
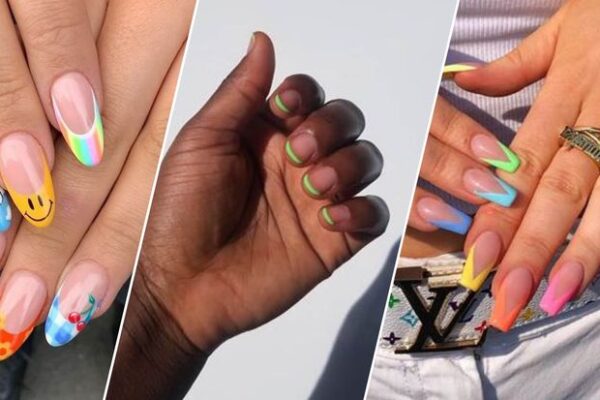
On social media, when it comes to nails, there are two opposing factions. While some have succumbed to the bling-bling trend by sporting very long nails in garish colors, others prefer to adopt a more classic style. Thus, nude shades are back in fashion, thanks in part to the influence of the Clean Girl phenomenon (the advent of a more natural look with less makeup and artifice). Extravagant manicures are over; minimalism is in. With its classic look, the baby boomer is more popular than ever online.
Along with the French manicure, the baby boomer is a nail art technique that clients regularly request from their nail technicians. What’s more, this type of service is more popular as summer approaches and also during weddings.
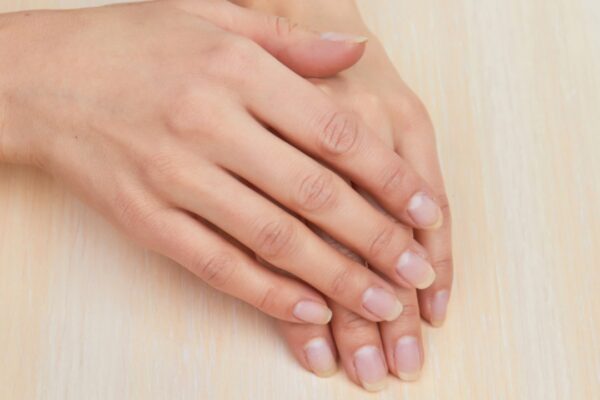
The baby boomer is a nail art effect that involves creating a white gradient, more or less blended, over a nude base. The nail technician must then create a fade from the white on the free edge of the nail, merging with the base of the nail, which is generally nude tones. The nude colors most popular with clients are pinkish nude or milky white nude, although there are a multitude of variations. This technique, although simple in appearance, requires a certain level of skill to achieve the most perfect blend possible.
What’s the difference between a baby boomer and a French manicure?
The baby boomer technique is characterized by a subtle gradient between pale pink and white on the nails, creating a natural and sophisticated ombre effect. In contrast, the French manicure is a classic style where the tip of the nail is painted white or nude, contrasting with the rest of the nail, which is painted in a pink or nude shade, creating an elegant and timeless look.
Techniques Used to Create a Perfect Baby Boomer
There are four main techniques for creating a baby boomer. It’s up to each nail technician to use the one of their choice:
1. The sponge blending technique: This process is the best known, although it requires skill. The professional then applies a nude base coat and then blends the white in several layers with a very fine sponge. The blending technique is then tapped until the desired blend is achieved.
2. The brush blending technique: This technique is similar to the previous one, except for one detail: a brush is used instead of a sponge. A nude base is then applied, followed by white on a free edge and blended with a brush. This is done in several steps to ensure the blend is as fine as possible.
3. The airbrush technique: This is a relatively new process. The airbrush, also called an airbrush, is a paint sprayer. The specialist applies the nude base coat and sprays micro-particles of white over it.
4. The reverse technique: With this process, the baby boomer is directly integrated into the construction. It works in reverse of the other three techniques. Thus, the base of the nail is white, and on top of that, we create our structure with this nude base.
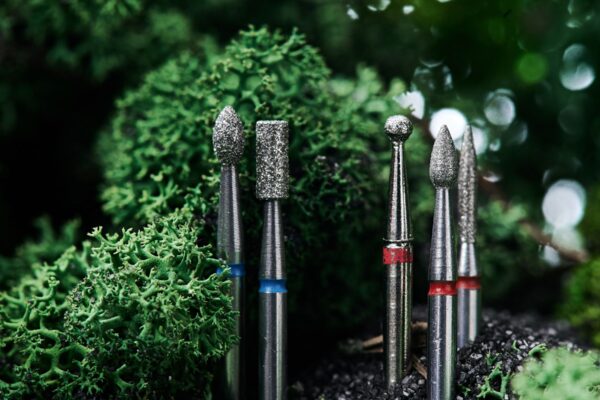
Of course, no matter which technique you choose, don’t forget to carefully prepare your nails with a manicure kit.
How to keep your baby boomer as long as possible?
To prevent the polish from chipping, the nail technician will apply a good finish to the nail, thus protecting the clear polishes. These shades are very sensitive to contact with light, spices, or even cigarettes, and tend to dull and yellow. It is therefore advisable to wear gloves when washing dishes and cleaning at home, and to avoid smoking.
How do you remove your baby boomer nail polish?
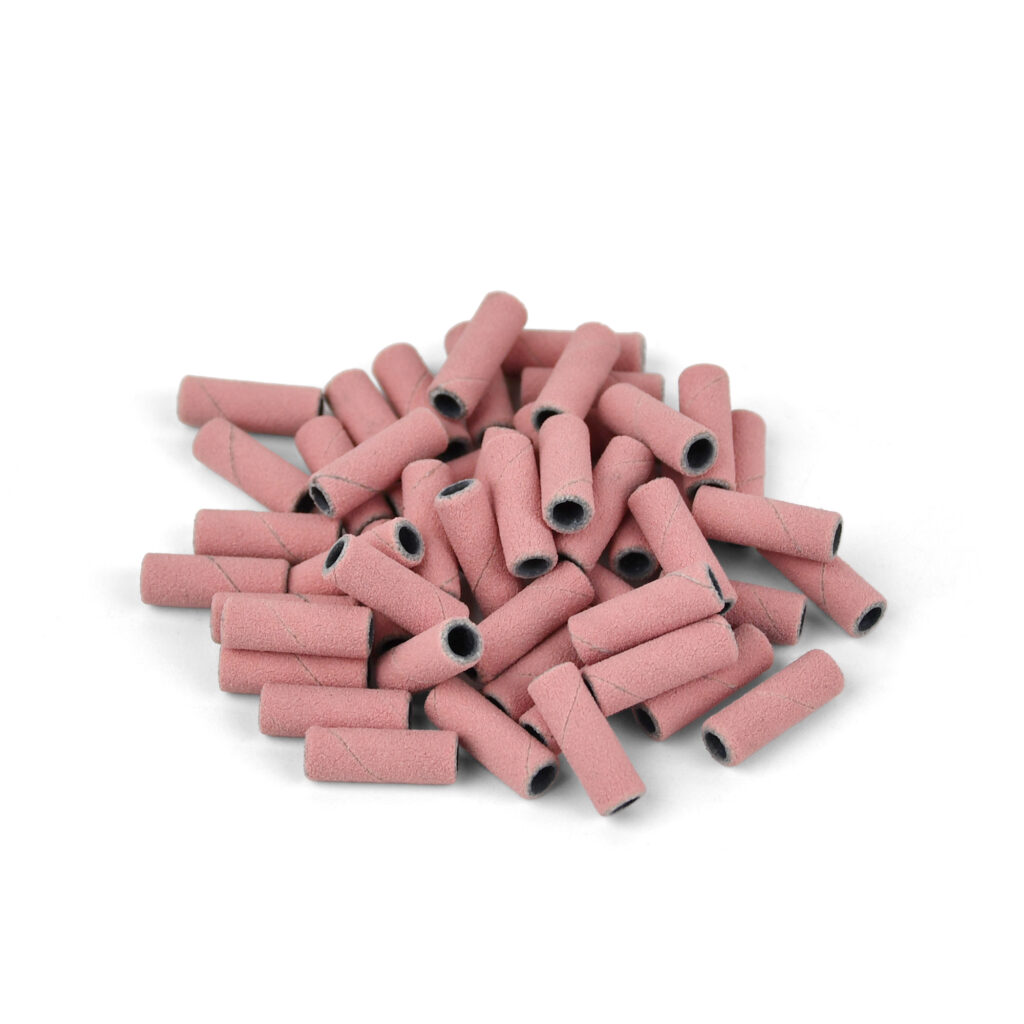
For a clean, damage-free manicure (especially when gel polish builds up), it’s best to go to a professional salon for safety reasons rather than trying it yourself at home. Also, when removing your nails, use a file with a Mini Sanding Band. It also trims the nail edge and reshapes the nail as needed.
For a simple semi-permanent application, you can remove the polish at home. To do this, gently file the top layer of polish, then soak cotton swabs in acetone and place them on each nail. Wrap the nails in aluminum foil and let it sit for about 15-20 minutes. Remove the foil and gently rub off any remaining polish. Use a cuticle stick for stubborn residue.
Read also: Nail Designs with Stencils or Tips