Curly toenails, a painful problem affecting 20% of podiatry patients, require a methodical approach.
- Crucial preparation: a 10-15 minute warm foot bath with tea tree oil to soften the nail.
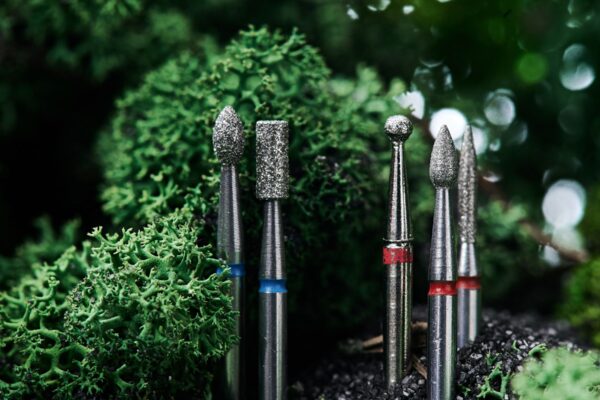
- Right-angled cutting techniques with professional tools (ingrown toenail nippers, nail drill).
- Application of a mild antiseptic and insertion of cotton under the edge for relief.
- Prevention with wide-fitting shoes and regular care every 2-3 weeks.
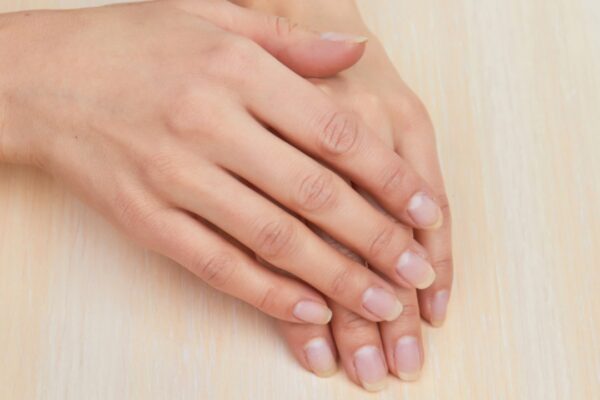
Curled toenails are a common problem encountered in salons. This deformity, where the edges of the nail curve and dig into the surrounding skin, causes pain and inflammation.
Understanding and preparing ingrown toenails before surgery
Ingrown toenails, also known as ingrown or involuted nails, affect approximately 20% of people who consult a podiatrist. This condition occurs when the edges of the nail dig into the flesh, causing pain, redness, and inflammation. Several factors contribute to their formation: poor cutting techniques, tight shoes, genetic predisposition, or repeated trauma.
Foot soak to soften the nail
Proper preparation is the essential step before any procedure. A softened nail becomes much more malleable and significantly reduces discomfort during nail clipping. It is recommended to start with a 10 to 15 minute soak in warm water. Adding a few drops of tea tree essential oil can provide beneficial antibacterial properties.
Compress to Relax Tissue
For particularly sensitive cases, a trick is to apply a compress soaked in warm saline solution directly to the affected area for 5 minutes. This method relaxes the tissues and greatly facilitates the procedure.
After this essential softening, thoroughly dry the area and apply a mild antiseptic. Disinfecting tools before use is also crucial to avoid any infectious complications.
Essential Techniques and Tools for Trimming a Curled Nail
The Tools Needed to Treat a Curled Nail
To effectively treat a curled nail, using the right tools makes all the difference. Here are the essential tools:
- Ingrown toenail nippers with thin, straight jaws
- Precision nail clippers for delicate areas
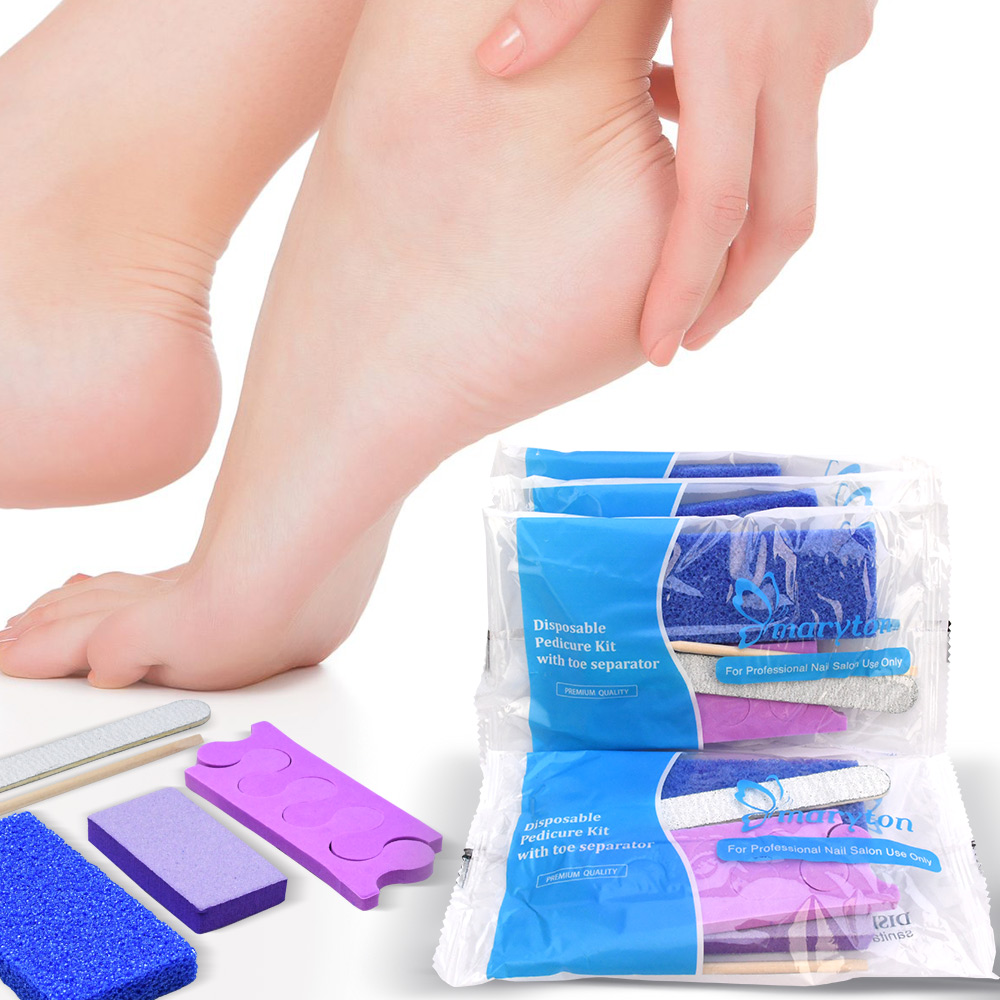
- Disposable pedicure kit
- Tweezers to remove small fragments
- Antiseptic to disinfect before and after the procedure
Absolutely avoid traditional scissors, which favor rounded cuts, the main cause of ingrown toenails. The investment in quality professional nippers quickly pays for itself in the pain avoided.
Properly trimming your toenails to prevent curled toenails
The actual trimming technique involves 5 essential steps:
- Precisely identify the point where the nail enters the flesh in good light
- Use the nippers to cut straight across (never rounded) the problematic edge
- Gently insert a small piece of cotton under the edge to lift it slightly
- Gently file the cut edges to remove any roughness
- Apply an antiseptic and leave the nail uncovered for a few hours
Post-procedure care and recurrence prevention
Post-cut care determines the long-term success of the treatment. For 48 hours following the procedure, apply a mild antiseptic twice a day. Diluted hydrogen peroxide or chlorhexidine effectively prevent infections. To relieve any pain, alternate with warm salt baths, which quickly soothe irritated tissue. Wear wide shoes for a few days after the procedure. The pressure exerted by narrow shoes can compromise all the work done.
How to prevent curled nails?
To prevent the formation of curled nails, always cut all your nails straight. This simple technique literally transforms their health. Always cut after softening in water, never dry, ideally every 2-3 weeks depending on the growth rate.
Complementary natural solutions can accelerate healing. Epsom salt baths three times a week reduce inflammation. Applying a mixture of propolis and honey accelerates healing thanks to their remarkable antibacterial properties. Aloe vera compresses quickly soothe irritated tissue.
Techniques for stubborn curled nails
For recurrent cases, specific techniques such as the cotton pad, renewed every 2-3 days for two weeks, can work wonders. Applying a drop of clear hard nail polish to the problematic edge prevents the nail from digging into the flesh. If problems persist despite these treatments, don’t hesitate to consult a specialized podiatrist who can offer professional solutions such as orthonyxia.
Read also: The Magic of Pumice Stone in Foot Care: For Salons and Home Use